Ask AI on The Internet
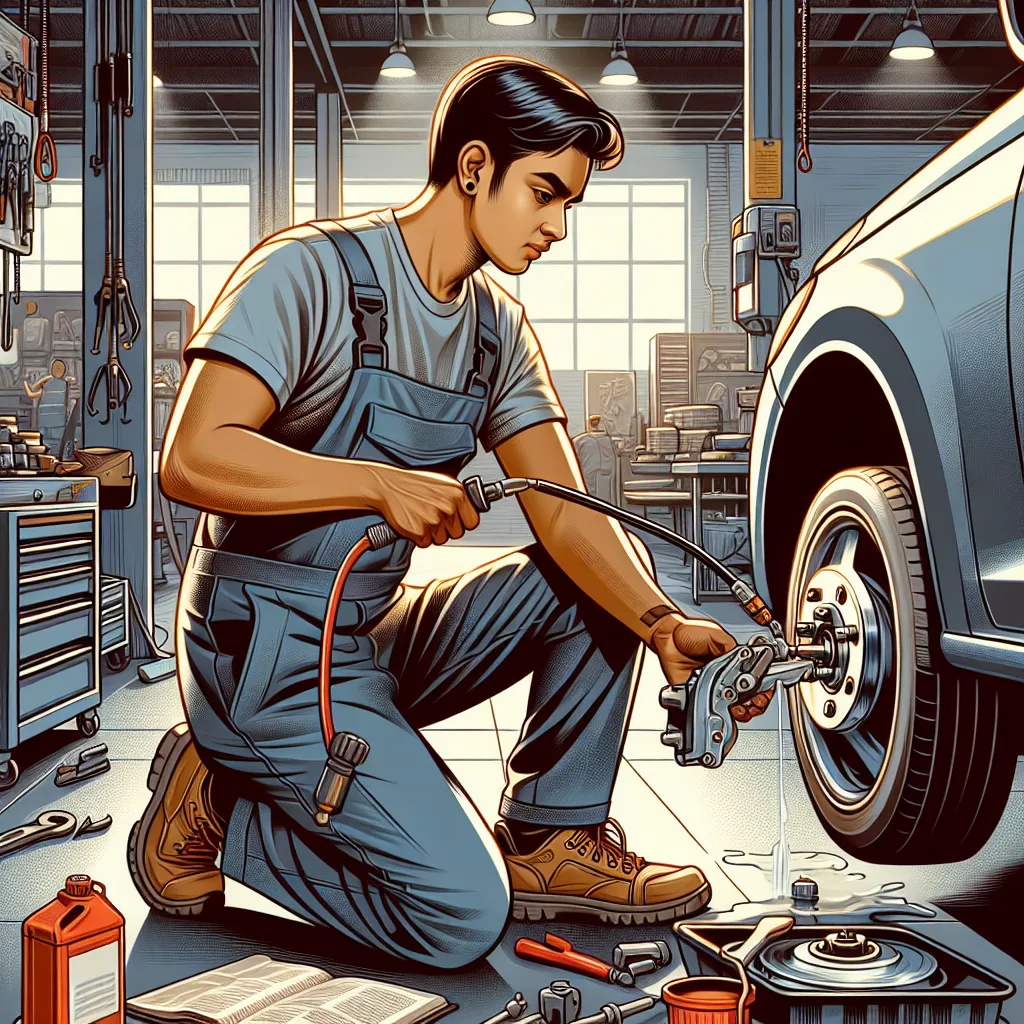
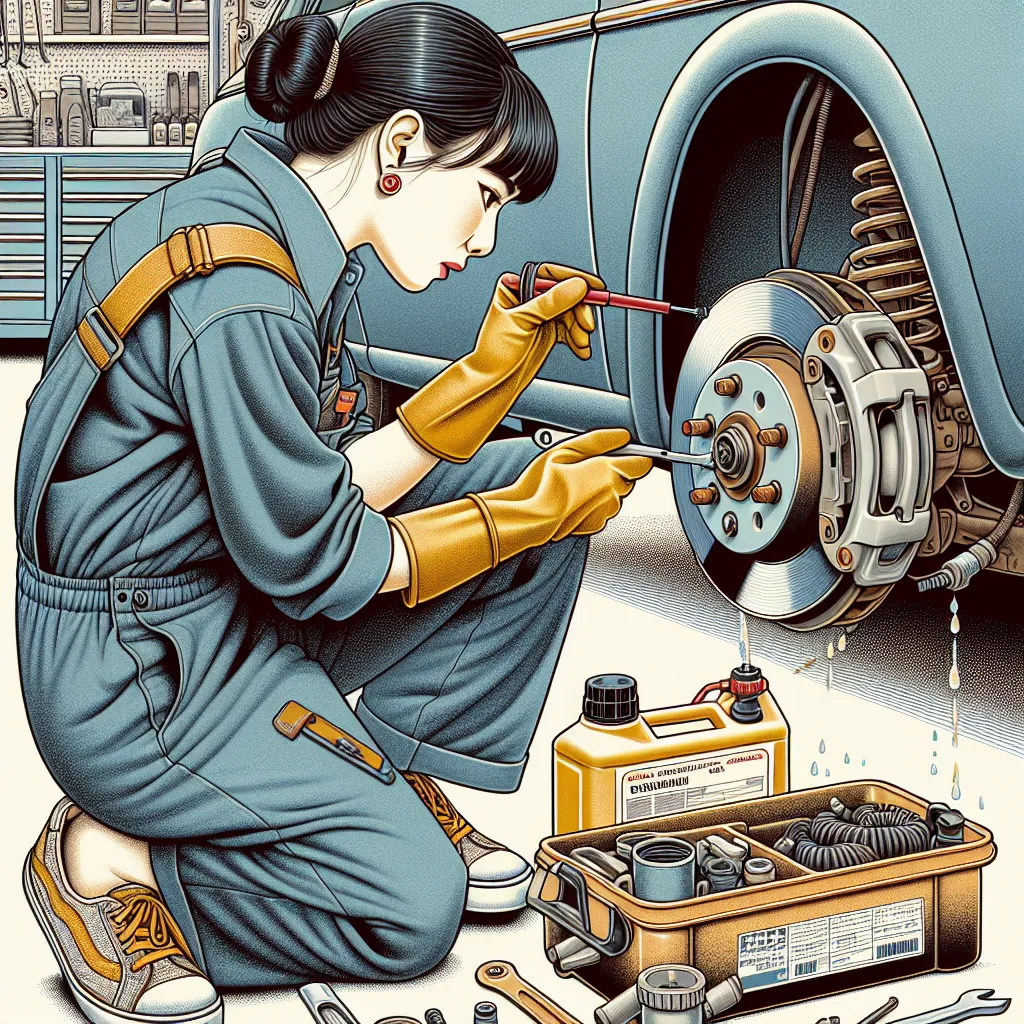
Bleeding brakes by yourself can be a bit challenging, but it is manageable with the right tools and patience. Here’s a step-by-step guide: ### Tools and Materials Needed: - Brake fluid (consult your vehicle’s manual for the correct type) - A clear plastic tube that fits snugly over the brake bleeder screw - A small container (like a jar) to catch the old brake fluid - A wrench (typically a box-end wrench, size depends on the vehicle) - Jack and jack stands (if needed) - A brake bleeder kit or a one-person brake bleeding system (optional but very helpful) ### Steps to Bleed Brakes By Yourself: 1. **Preparation:** - Ensure your vehicle is on a flat, level surface. - Put the vehicle in park and engage the parking brake. - For safety, wear protective gloves and glasses. 2. **Locate the Brake Fluid Reservoir:** - Open the hood and locate the brake master cylinder reservoir. It’s usually near the back of the engine bay, close to the driver’s side. - Ensure the reservoir is filled with the recommended brake fluid. 3. **Jack Up the Vehicle:** - If necessary, use a jack to lift the car and place it securely on jack stands. Refer to your vehicle’s manual for the correct jacking points. 4. **Remove the Wheels:** - Remove the wheels to access the brake calipers (if necessary). 5. **Attach the Bleeder Tube:** - Starting with the brake farthest from the master cylinder (usually the passenger side rear for most vehicles), locate the brake bleeder screw on the brake caliper or wheel cylinder. - Place the correct size box-end wrench over the bleeder screw. - Attach the clear plastic tube over the bleeder screw nipple, and submerge the other end of the tube in a small container partially filled with brake fluid to prevent air from being drawn back into the system. 6. **Open the Bleeder Valve:** - Slowly open the bleeder screw (about a quarter turn) with the wrench. Fluid and air bubbles should start to flow through the tube and into the container. 7. **Pump the Brake Pedal:** - Sit in the driver’s seat and slowly depress the brake pedal multiple times. This will force the old fluid and air out of the system. - Keep an eye on the master cylinder reservoir and add brake fluid as needed to prevent it from running dry. Allowing it to empty can introduce more air into the system. 8. **Close the Bleeder Valve:** - Once air bubbles stop coming out and only clear brake fluid is visible in the tube, tighten the bleeder screw while the brake pedal is still depressed. 9. **Move to the Next Brake:** - Repeat steps 5 to 8 for the other brakes in sequence, typically moving from the furthest to the nearest (passenger rear, driver rear, passenger front, driver front). 10. **Check the Pedal Feel:** - After bleeding all brakes, the brake pedal should feel firm and responsive. If it still feels spongy, there might still be air in the system, and you should repeat the bleeding process. 11. **Replace Wheels and Lower the Vehicle:** - Once all brakes are bled and you are satisfied with the pedal feel, reinstall the wheels and lower the vehicle if it was jacked up. 12. **Final Check:** - Double-check the brake fluid reservoir to make sure it is at the proper level, and then close the reservoir cap. 13. **Test Drive Cautiously:** - Carefully test the brakes at low speeds to ensure they are functioning correctly before driving normally. ### Tips: - If you find it difficult to do alone, brake bleeder kits or vacuum pumps can be extremely helpful. - Always dispose of used brake fluid properly; it’s harmful to the environment. - Check your vehicle’s manual for any specific procedures or precautions related to your vehicle’s braking system. If you feel unsure or uncomfortable with any part of the process, it’s always best to consult a professional mechanic. Safety first!
Think your answer is better than the AI's? Post it below.
Other Most Relevant Posts:
 Mastering Drifts in Roblox Midnight Racing: Tokyo - Tuning Your MK4 Toyota Supra for Better Grip and Control!
 1. **Suspected Poisoning: A Step-by-Step Guide**
2. **Student Distractions: Dangers and Consequences of Distracted Driving**
3. **Red Cross: Keeping Distance for Safe Drowning Rescues**
Question Tags
If you want your question answered by an AI, click here.


Post your own comment: